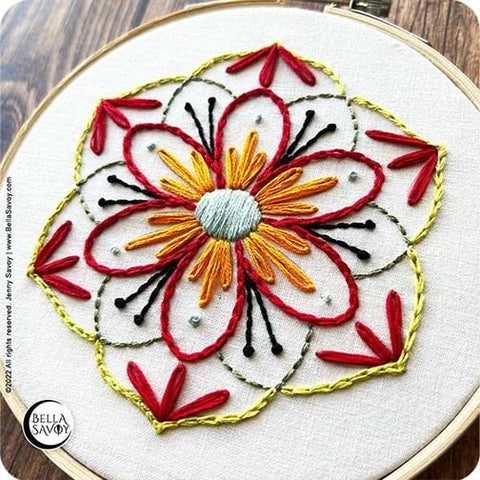
🖤 Need a fun little project to keep you busy? How about an easy mandala embroidery stitch along? It’s made using basic embroidery stitch, making this cute pattern beginner-friendly! Down the free embroidery pattern & let’s stitch together.
If you’re just learning how to embroider and you’ve had a chance to get your feet wet with the basics, then you’re probably ready to roll up your sleeves and get started with your first embroidery pattern, and I’m really excited for you!
I made a cute mandala embroidery pattern which uses these 5 basic embroidery stitches:
I’ll provide instructions and show you how to create the stitches above, and feel free to click any of the links to each stitch for a more in-depth tutorial.
I’ve also included a time-lapse video (you can slow down the speed if you’d like) of this mandala pattern being stitched up, in case you’re interested!
Materials:
Download and transfer the pattern, then hoop your fabric, & come on back with your supplies.
-
Hooped pattern
-
Scissors
-
Embroidery needles
-
Embroidery hoop 5″ or larger
-
Embroidery thread: #828, #741, #321, black, #3052, and #3819 (or use your preferred colors)
Download the free pattern which I’ve made available for personal use so you can follow along (commercial use not permitted).
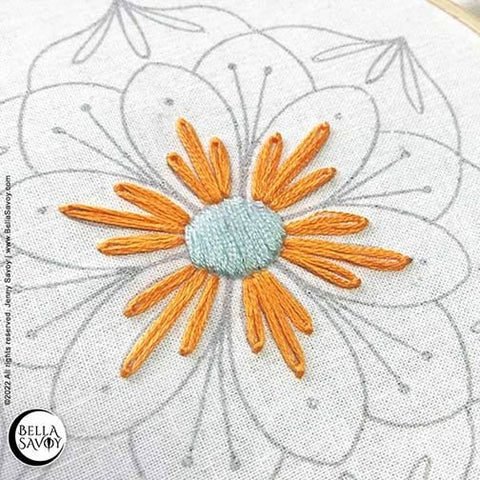
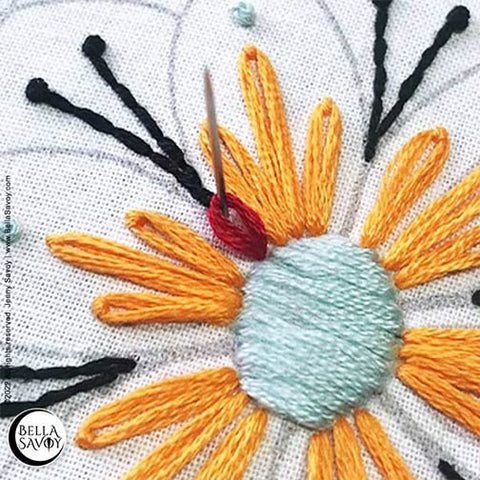
Mandala Embroidery Step 1
Start at the center, in the circle, with 6 strands of thread #828 and fill it with the satin stitch. You can start from one end like I did on the left side, or divide the shape into sections, similar to the right side of the circle, before filling in the spaces:

You’ll simply add straight stitches from one end to the other until you’ve filled in your shape completely.
Mandala Embroidery Step 2
Next, add lazy daisy stitches around the center with 6 strands of thread #741.
-
Push your needle up to the top along the edge of the center, then return to the back through the same hole, and leave behind a small loop.
-
Then return to the top of your fabric through the top of your loop.
-
Optional step: Before pulling your needle all the way through, reach behind your fabric and gently pull the thread through to tighten up your loop until it hugs your needle.
-
Tie your stitch down by pushing your needle to the back just outside of your loop.
Mandala Embroidery Step 3
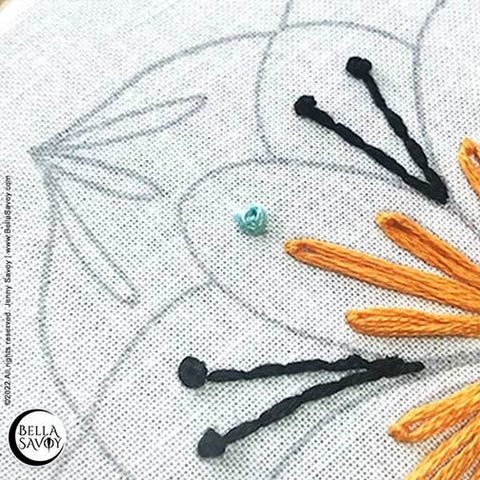
Next add a back stitch using 4 strands of black thread. You’ll also add a 4 strand 2 wrap (also in black) french knot at the tips.
To create the back stitch start with one small straight stitch. Leave a small gap and come back up, then go back to the end of the previous stitch and repeat.
To create the french knot, come up at the tip of your back stitch and wrap your thread around your needle twice.
Then push the needle back through or very near the same place you came up.
-
Hold down your working thread near your knot and carefully pull your thread through to the back.
-
Let the thread slide away from your finger as it returns to the back. Take your time.
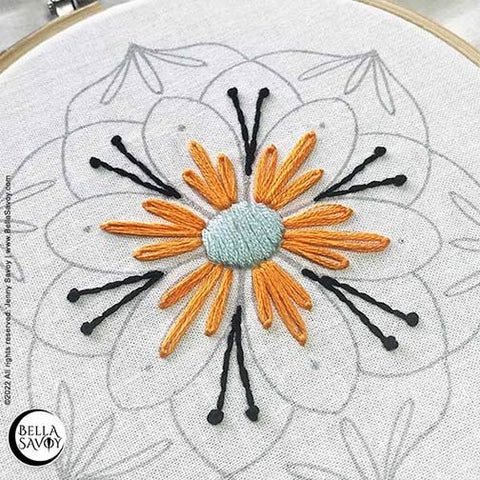
Mandala Embroidery Step 4
Add more french knots, this time it’ll be just above the lazy daisy stitches made earlier. Use 6 strands of thread #828.
Come up to the top of your fabric where you see the dots on your pattern & wrap your needle twice with your thread.
Push your needle back near the same hole, hold down your thread with one finger, and pull your thread through.
Mandala Embroidery Step 5
Next, add a chain stitch along the ‘round petals’ using 4 strands of thread #321.
Just like the lazy daisy stitch, create a small loop by coming up then back through the same hole. Then come up through your loop.
Pull your thread through to create your first little chain stitch, then repeat these steps. I’ll create another with you.
-
Return to the back through the same hole you came up from and leave behind a small loop.
-
Come up through the loop & pull your thread through.
-
Add this chain stitch all the way around each ‘petal’.
Mandala Embroidery Step 6
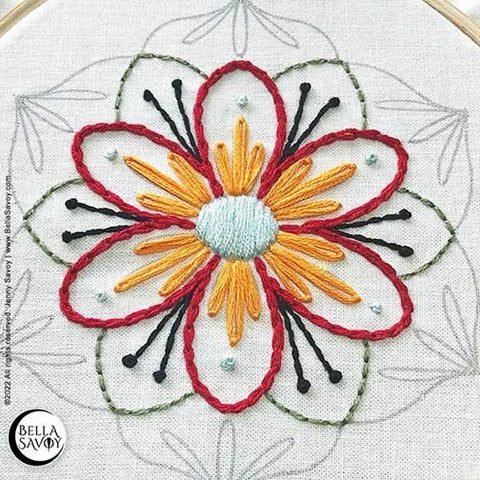
Next add a back stitch using 4 strands of thread #3052 to the shapes between each ‘petal’.
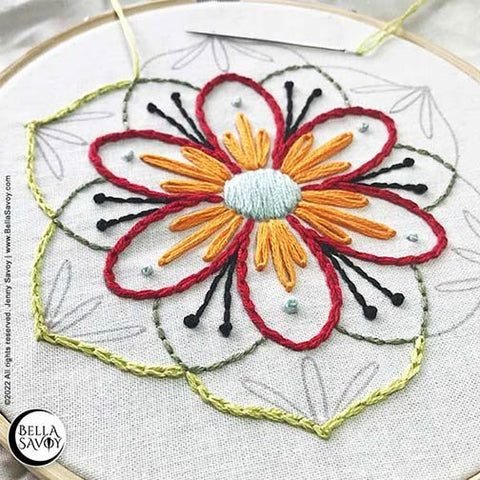
Mandala Embroidery Step 7
Add the chain stitch using 4 strands of thread #3819 to finish the outer lines of your mandala just as we did with the red petals.
Mandala Embroidery Step 8
Next, add some lazy daisy stitches using 6 strands of thread #321.
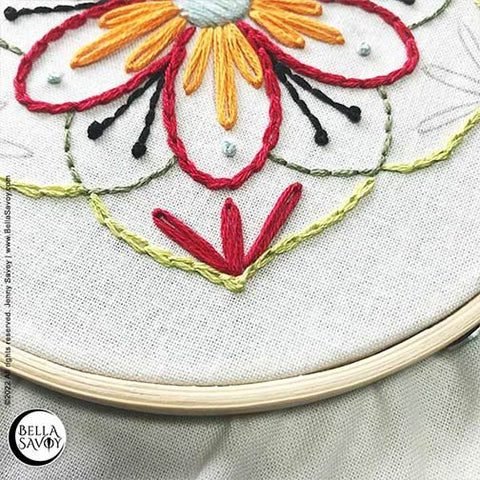
Lastly, if you’d like to add a nice touch, finish off the back and you’re done!
Mandala Embroidery Time-Lapse Video
Enjoy the video!