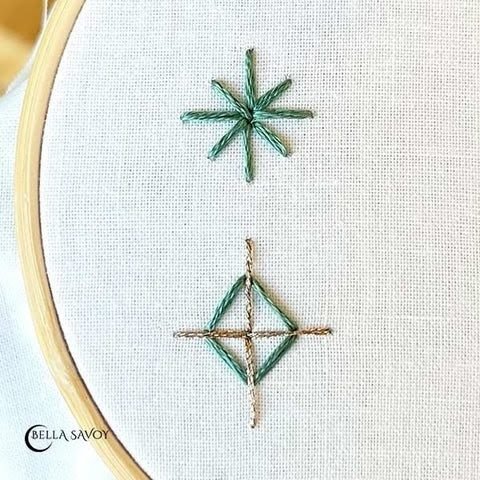
🖤 The star stitch is a fun and easy embroidery stitch that adds a charming touch to any design! Whether you’re looking to sprinkle in tiny stars, delicate sparkles, or just a bit of extra texture, this stitch is perfect for bringing your embroidery projects to life. If you’re new to embroidery for beginners, this is a great stitch to practice since it’s simple but makes a big impact—especially when using metallic thread for a little extra shine.
In this embroidery stitch tutorial, you’ll learn how to make the star stitch step by step so you can start adding it to your designs right away. It’s a quick and easy way to elevate your embroidery and give it a bit more character. And if you love versatile stitches, stick around until the end, where I’ll show you another fun stitch that pairs beautifully with the star stitch. Whether you’re just starting to learn embroidery or looking for fresh ideas, this tutorial will help you expand your skills with an effortless but eye-catching technique!
Table of Contents
Star Stitch
-
Draw dots to serve as guides to form a diamond shape with one dot in the center. Add dots to the top and bottom, left and right, and one dot in between each of those dots.
-
Add a stitch from each dot on the outside to the center: Come up at A, return to the back at B.
-
Come up at C, return to the back at B.
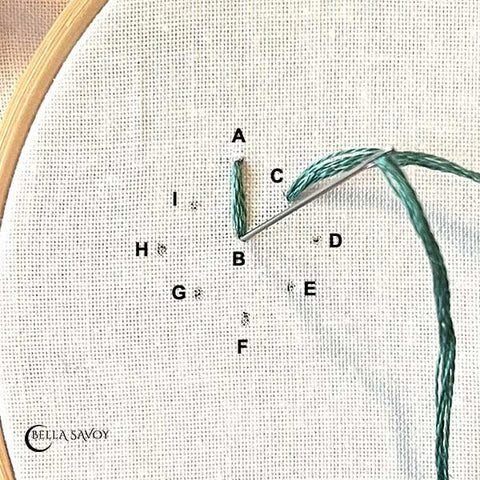
Repeat these steps going all the way around your center until you have a cute little star. Always come up to the top of the fabric from the dots on the outside, and always return to the back at the center.
Easy peasy!
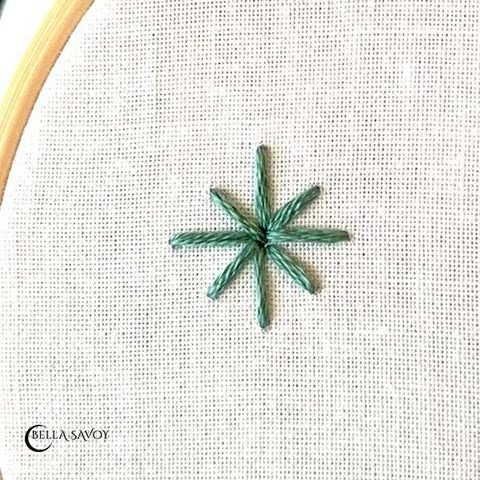
Bonus Stitch Tutorial
I don’t know if there is a name for this little stitch, but it’s one that you’ll find in a few of my pdf patterns. Try making this with 2 different color threads.
Draw 8 dots onto your fabric as guides in the following manner:
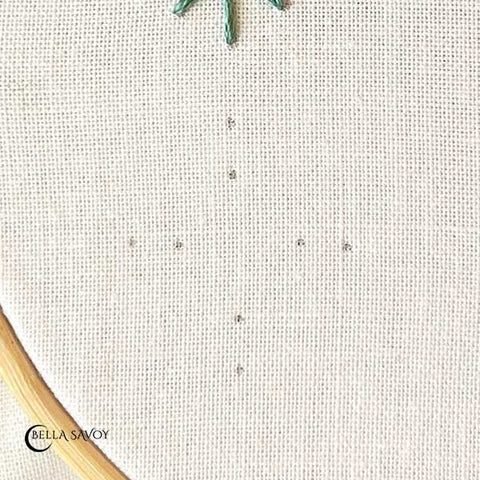
Connect the inner dots using a straight stitch on each side to form a diamond:
-
A to B
-
C to B
-
D to C
-
A to D
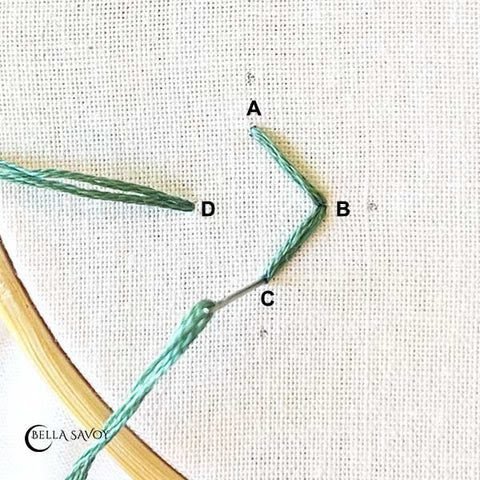
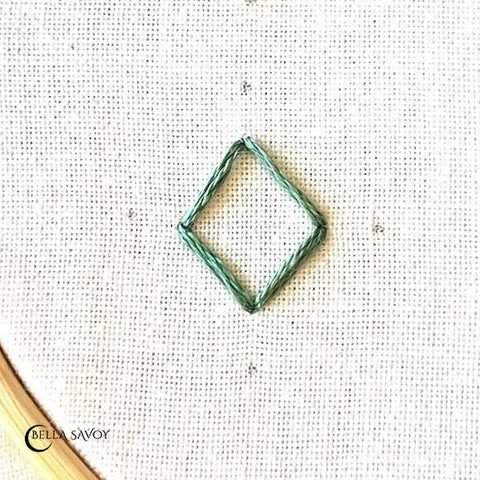
Add a straight stitch from each outer dot to the center to form a cross over the diamond.
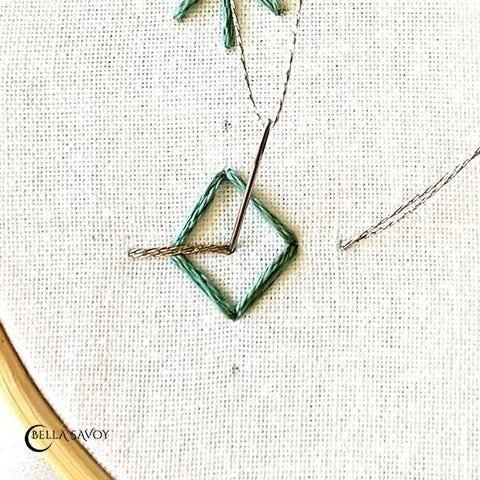
That’s all there is to it!
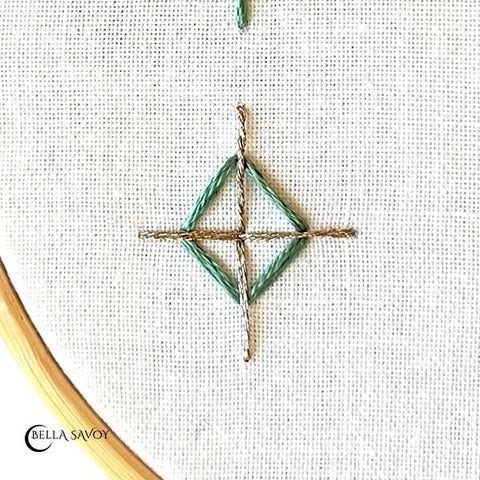
Using Metallic Thread
I love using metallic thread for accent stitches but it’s definitely not as smooth as other threads so it can be a little testy if you rush through them. It kind of has a mind of its own.
So I thought I’d throw a few tips out there in case you’d like to give it a try.
-
Practice using metallic thread on a scrap piece of fabric first before using it on your embroidery work if you’ve never used metallic thread.
-
Take your time and always pull your thread gently through.
-
Don’t push metallic thread through the same hole too often. It’s better to make holes that are close together. Since metallic thread has a little texture it can catch on each other or the fabric if it doesn’t have enough room to move.
-
Make sure your fabric isn’t too thick or you’ll run into the issue just mentioned without a doubt.
-
Expect to use a bit more metallic thread for your work than you would with regular thread so it sometimes makes sense to use longer thread for your stitches (just don’t make it too long).
Regardless of some of the nuances that come with metallic thread, I love using them, especially for accent stitches The french knot is another lovely accent stitch that looks lovely when made from metallic thread.
